- Assess electrical service capacity (200-amp panel recommended).
- Select Level 2 EVSE with optimal power rating (16-50 amps).
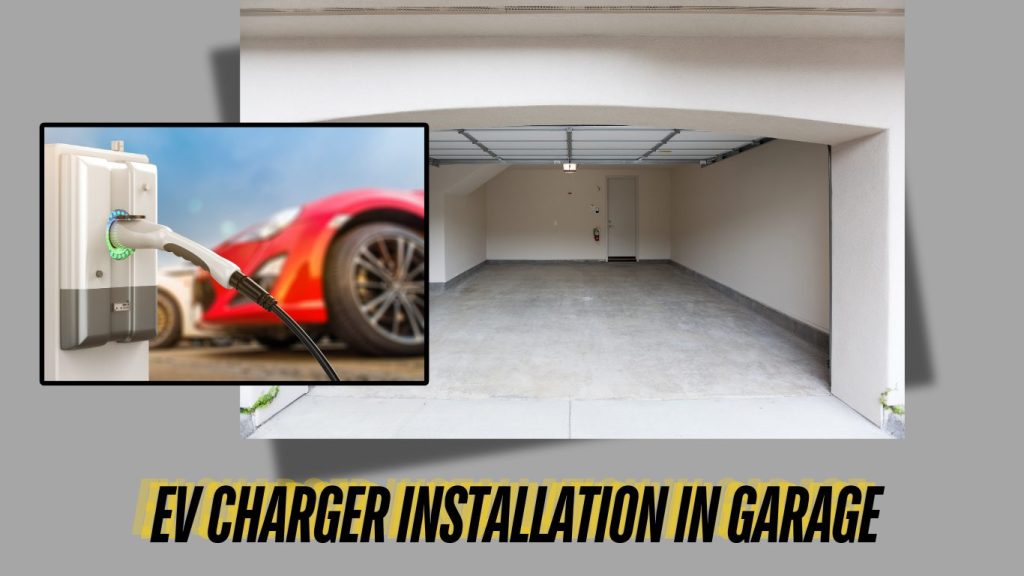
- Designate installation site (weatherproofed garage or exterior).
- Engage a certified electrician for 240V dedicated circuit and breaker integration.
- Perform commissioning and operational check.
- Verification with the vehicle and Charging protocol.
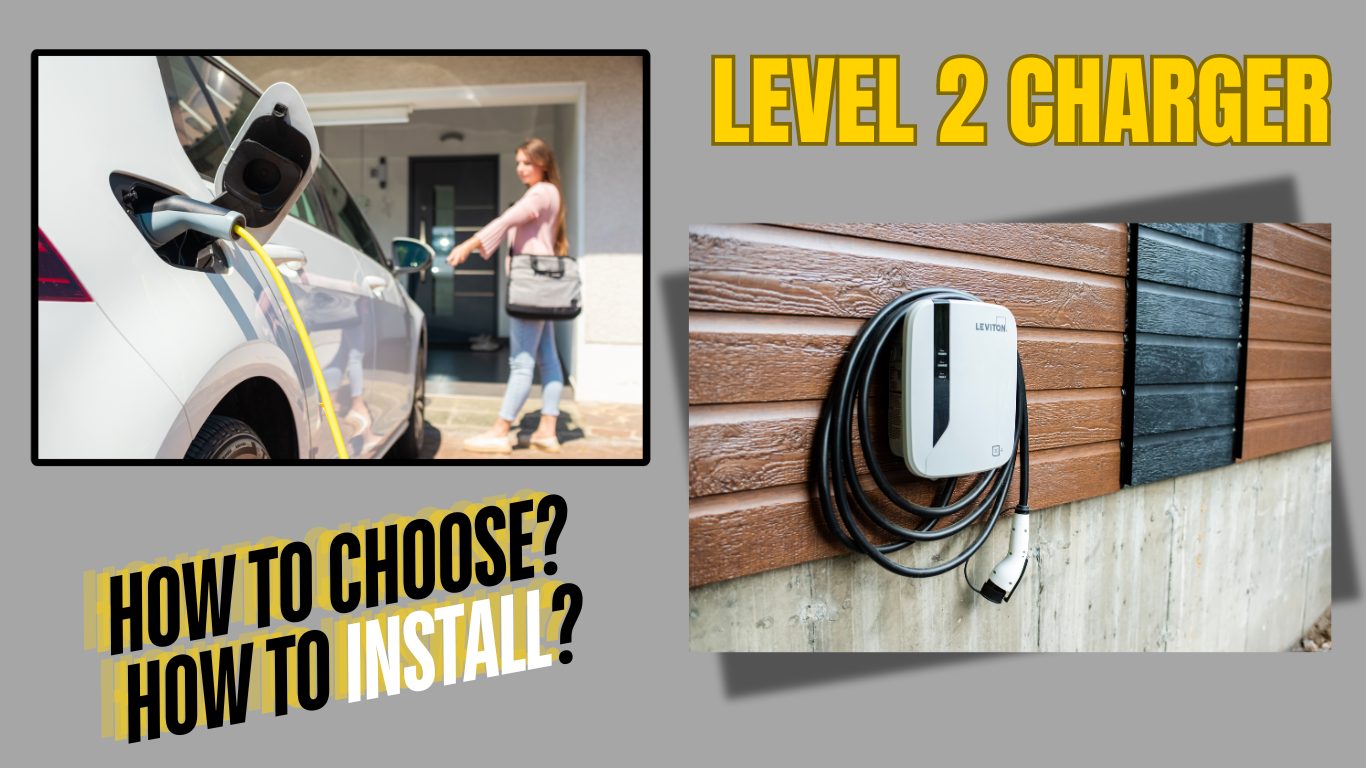
Installing a Level 2 EV charger at home can reduce your charging time up to some extent. Instead of relying on the slower Level 1 charger, you can add up to 25-30 miles of range per hour with a Level 2 charger.
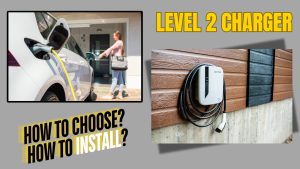
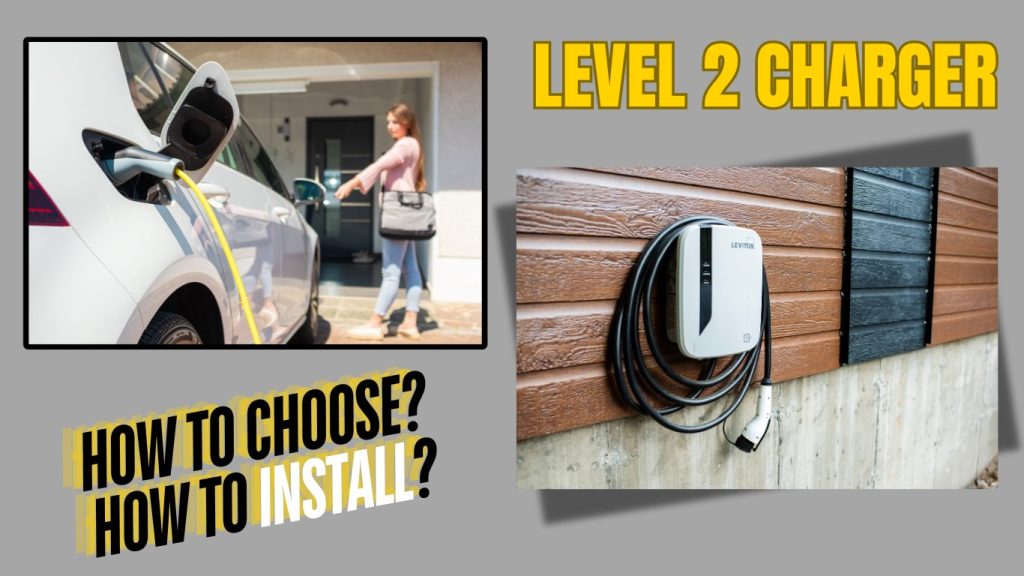
Here’s a practical, step-by-step guide on how to choose and install one.
Step 1: Assess Your Home’s Load Capacity
- Check Your Electrical Panel: Most homes have a 100-amp electrical panel, but for an EV charger, you may need a 200-amp service if other high-energy devices are in use.
- Dedicated Circuit: Level 2 chargers typically need a 240-volt circuit with a dedicated 40-50 amp breaker.
- Panel Upgrade: If your panel can’t handle the additional load, consider upgrading your panel or installing a sub-panel for the EV charger.
Step 2: How to choose the Right Level 2 Charger
- Charger Power Output: Most Level 2 chargers offer 16-50 amps of power. A 32-amp charger is common for most EVs and requires a 40-amp breaker.
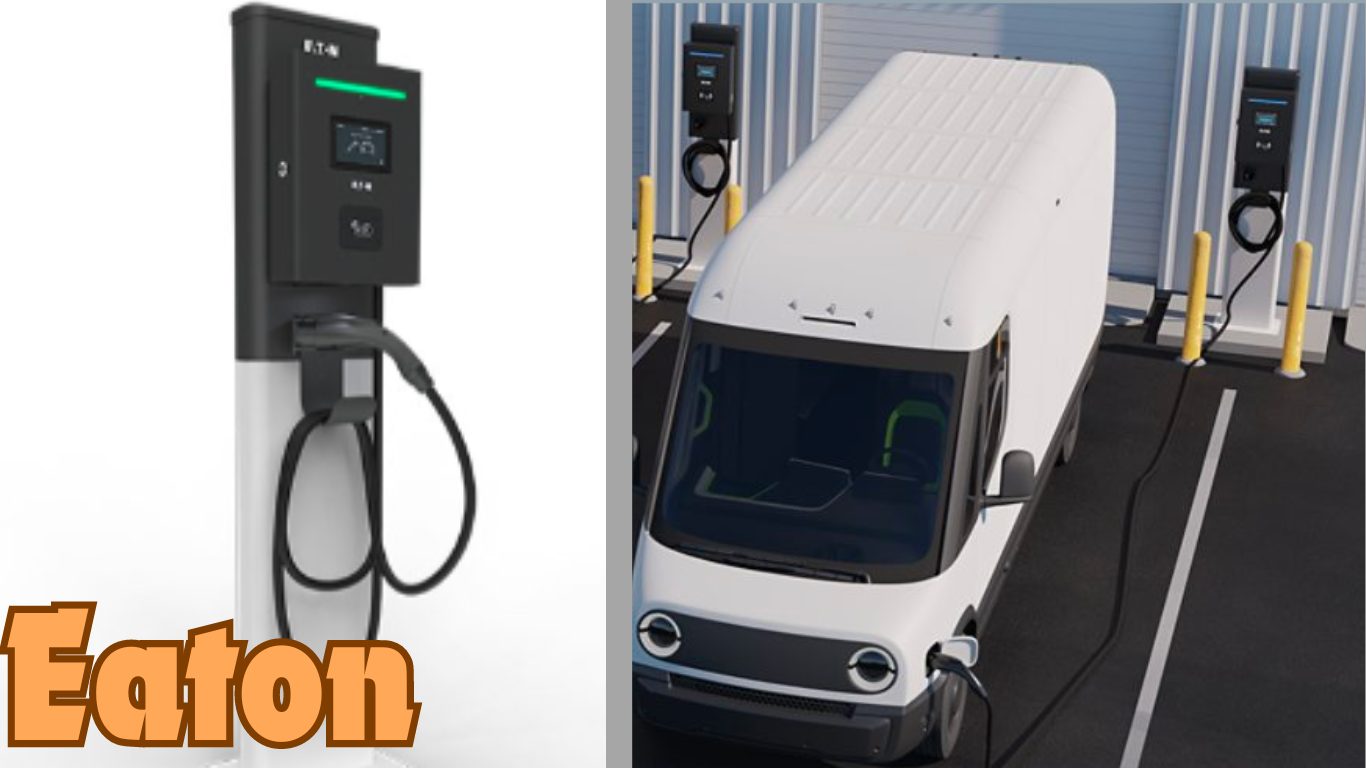
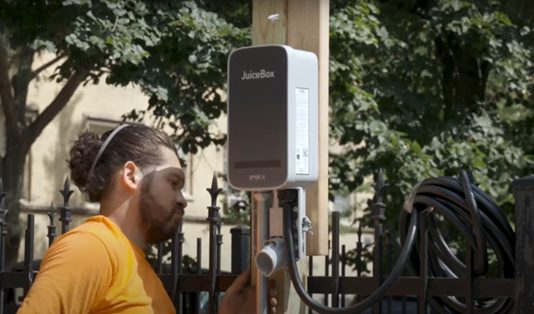
- Check Vehicle Compatibility: Ensure the charger is compatible with your EV’s onboard charger. For example, Tesla Wall Connector is ideal for Tesla models, while ChargePoint and JuiceBox work for most other EVs.
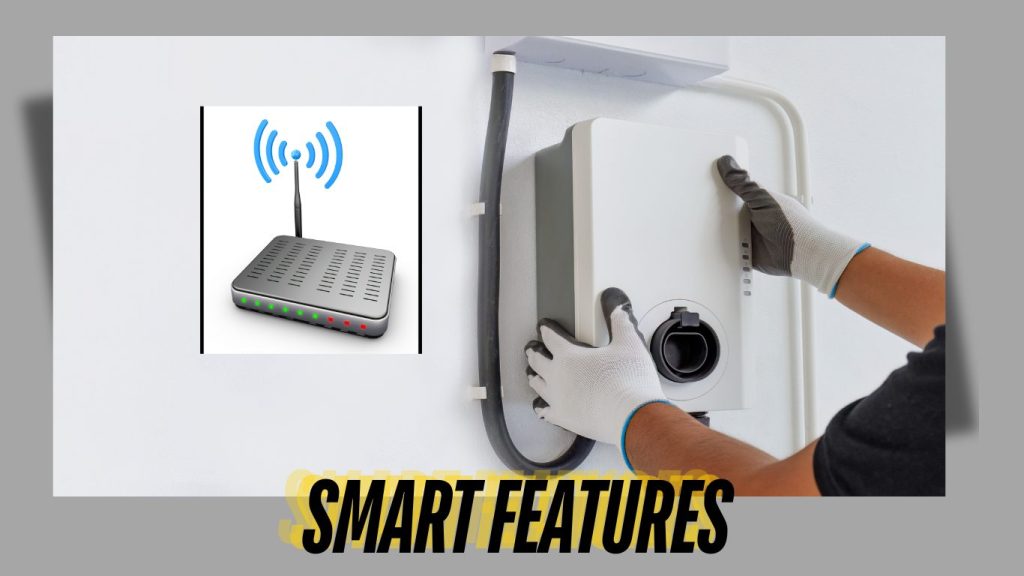
- Consider Smart Features: Choose a charger with Wi-Fi connectivity and app integration for remote monitoring, scheduling, and energy usage tracking (e.g., ChargePoint Home Flex or JuiceBox 40).
- Review Installation Requirements: Factor in installation complexity, location (indoor vs. outdoor), and if the charger requires additional equipment like a NEMA 14-50 plug or hardwired installation.
- Popular Models:
- ChargePoint Home Flex: Offers 16-50 amps, Wi-Fi control, and smart charging.
- JuiceBox 40: Provides 40 amps, Wi-Fi features, and app scheduling.
- Tesla Wall Connector: Best for Tesla owners, with 48 amps and integrated features.
- Compatibility: Ensure the charger is compatible with your EV, whether you drive a Nissan Leaf, Chevy Bolt, or Tesla Model 3.
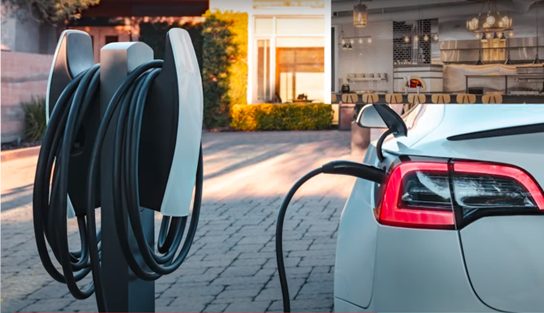
Step 3: Prepare the Installation Area
- Select Location: The ideal spot for the charger is in your garage or driveway. Ensure the charger is within reach of your vehicle’s charging port.
- Weatherproofing: If installing outdoors, choose a charger with a NEMA 4 rating for weatherproof protection.
- Wi-Fi Connection: Many smart chargers require Wi-Fi to connect to apps for remote monitoring and scheduling. Ensure the installation site has good signal strength.
Step 4: Hire a Licensed Electrician
- Find a Certified Electrician: Only a licensed electrician should install a Level 2 charger. They’ll ensure proper wiring, breaker installation, and code compliance.
- Permits: Check if you need a permit to install the charger. Many municipalities require an inspection to ensure safety and compliance with the National Electrical Code (NEC) or Canadian Electrical Code (CEC).
- Breaker and Wiring: The electrician will install a 40-amp or 50-amp circuit breaker and use 6 AWG copper wire for safe operation.
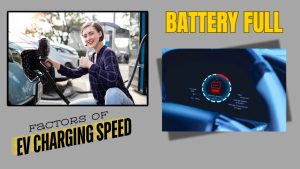
If you’re facing a slow charging speed for you electric car charging station , here is another super valuable guide on; What Factors Affect How Fast an EV Charges
Step 5: Mount the Charger
- Mounting: Most Level 2 chargers come with a mounting bracket. Install the charging station at a height that is convenient to plug into your vehicle (typically 48 inches from the ground).
- Wiring the Charger: The electrician will connect the charger to the 240V circuit using the correct gauge wire and then secure it to the breaker panel.
- Safety Considerations: Ensure proper grounding and GFCI protection to prevent electrical hazards.
Step 6: Test and Finalize the Installation
- Testing: Once installed, test the charger by plugging in your vehicle and checking if it begins charging. Monitor the charging speed on the app if using a smart charger.
- App Setup: If your charger has Wi-Fi capabilities, configure the app for scheduling, monitoring, and notifications.
- Final Inspection: Ensure that your local inspector approves the installation if required.
Comparison Table: Popular Level 2 EV Chargers
| Charger Model | Power Output (Amps) | Voltage (V) | Wi-Fi Enabled | Price Range |
|---|---|---|---|---|
| ChargePoint Home Flex | 16-50 amps | 240V | Yes | $699-$799 |
| JuiceBox 40 | 40 amps | 240V | Yes | $599-$699 |
| Tesla Wall Connector | 48 amps | 240V | Yes | $550-$650 |
| ClipperCreek HCS-40 | 32 amps | 240V | No | $499-$599 |
| Grizzl-E Classic | 40 amps | 240V | No | $399-$499 |
Conclusion
Installing a Level 2 charger at home can significantly improve your EV charging experience, reducing the charging time from overnight to just a few hours. Make sure you choose the right charger for your needs, work with a licensed electrician, and follow all electrical safety regulations. This guide provides a step-by-step process to help you make the right choice and install it properly.
FAQs
- What is the cost of installing a Level 2 EV charger?
Installation costs range from $500 to $2,000 depending on electrical upgrades and labor.
- Can I install a Level 2 charger without upgrading my electrical panel?
Only if your current panel has enough capacity (typically 200 amps service).
- How much faster is Level 2 charging compared to Level 1?
Level 2 chargers are 5-7 times faster, providing 12-30 miles of range per hour.
- Are there tax incentives for home EV charger installation?
Yes, both the US and Canada offer rebates and tax credits for EV charger installations.
- Can I install a Level 2 charger outdoors?
Yes, but ensure the charger is NEMA 4 rated for weatherproof protection.